Cycling Tips
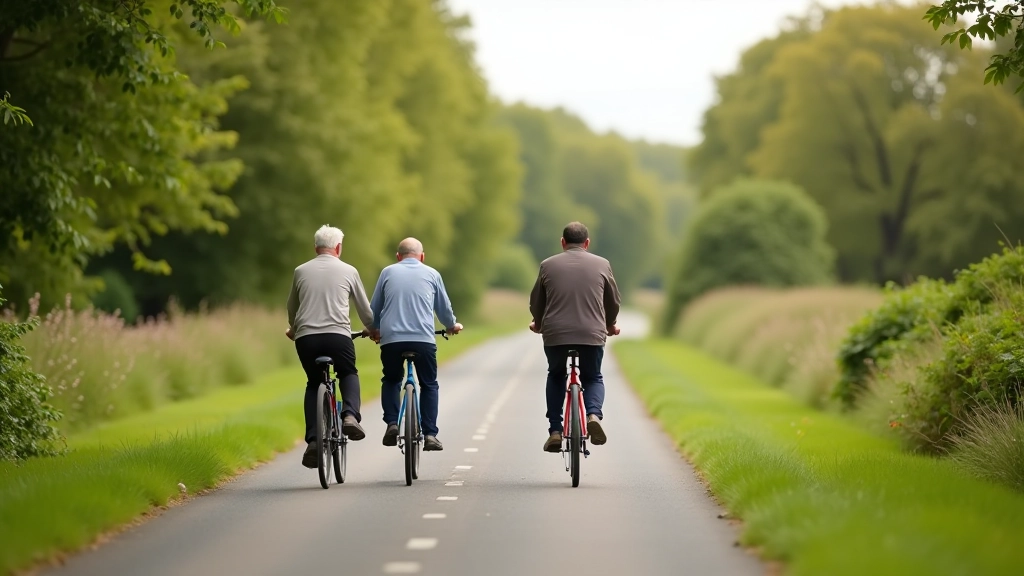
Bike Setup for Seniors: Comfort First
How to adjust your bike for maximum comfort on longer rides. Seat height, handlebar position, and suspension tips that actually make a difference.
Start With the Right Foundation
Most seniors we talk to say the same thing: "I used to enjoy riding, but my back hurts" or "My hands go numb after an hour." Here's what we've learned — it's rarely the cycling itself that's the problem. It's almost always the bike setup.
You don't need an expensive bike to ride comfortably on the Waterford to New Ross greenway. What you need is a bike that fits YOU. Spend an afternoon getting three key adjustments right, and you'll unlock another 10+ years of pain-free riding. That's the real deal.
The Three Adjustments That Matter Most
- Seat height and fore/aft position
- Handlebar height and reach
- Pedal clearance and crank length
Seat Height: The Foundation of Everything
Your seat height is the most important adjustment. Get this wrong and your knees, hips, and lower back pay the price on every pedal stroke.
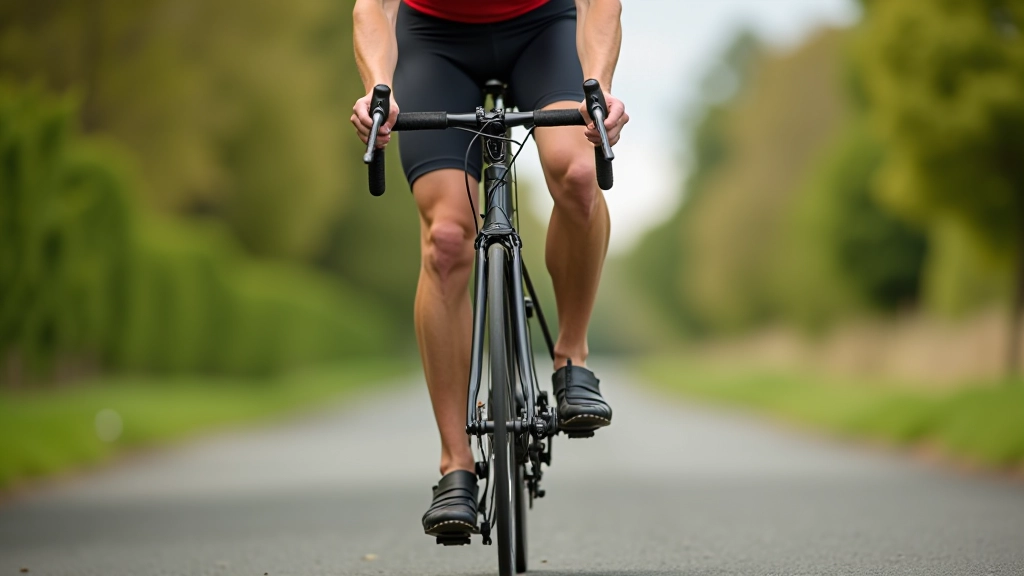
Here's the standard approach: When you're sitting on the saddle with your foot on the pedal at its lowest point, your knee should have a slight bend — about 25 to 30 degrees. Not locked straight, not cramped. That angle lets your legs do the work without straining.
Too high? Your hips rock side to side. Too low? Your knees take the strain. Start with the quick method — stand over the frame with shoes on, the seat should be about 1 inch below your hip bone. Then fine-tune from there.
Pro tip: Make adjustments in quarter-inch increments. Small changes feel huge once you're riding.
Handlebar Height: Protecting Your Hands and Back
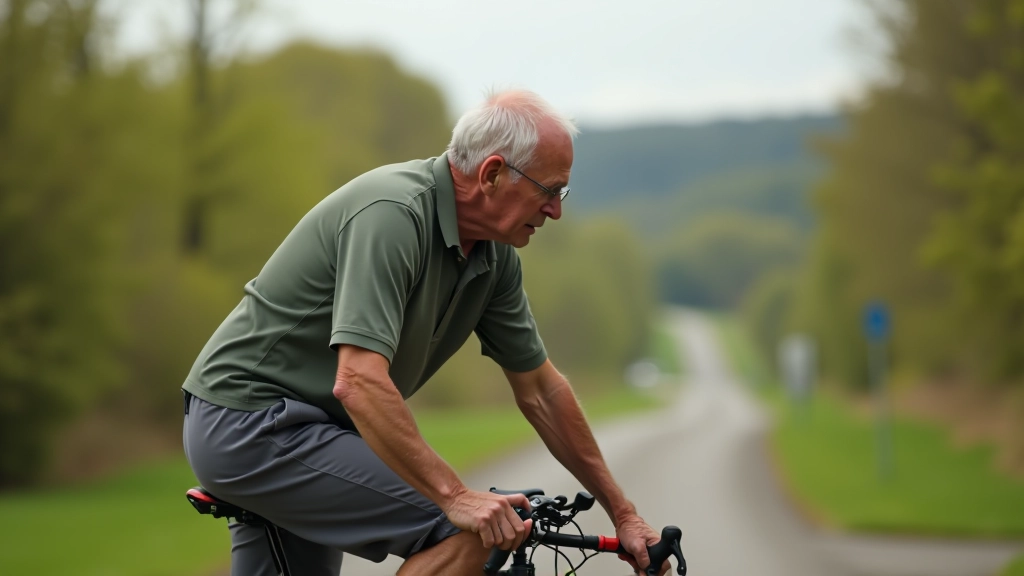
After seat height, handlebar position is the second-biggest comfort factor. If your handlebars are too low, you're stretching forward. Your shoulders round. Your hands go numb. Your lower back tightens. Sound familiar?
For most riders over 60, handlebars should be at the same height as your seat — or even slightly higher. This isn't cheating. This is smart setup. You're not a 25-year-old racer. You're someone who wants to ride the greenway pain-free for the next 20 years.
The reach matters too. Your elbows should have a slight bend when gripping the bars — roughly 15 to 20 degrees. If you're reaching too far, move the seat forward or use a shorter stem. If you're cramped, do the opposite.
15-20°
Ideal elbow bend
1-2 inches
Bar height above seat
The Smaller Details That Add Up
Once seat and bars are sorted, there's a handful of other tweaks that make the difference between "I can do this" and "I actually enjoy this."
Saddle comfort varies wildly. Some people love gel saddles. Others find them too soft and prefer a firmer perch. Don't assume what came on the bike is right for you. Test different saddles. You're not locked in.
Pedal positioning matters more than you'd think. Your feet should clip in consistently — if your feet are rolling inward or outward, your knees follow, and that builds pain over time. Flat pedals? Make sure the ball of your foot sits over the pedal axle.
Crank length affects comfort too. Most bikes come with 170mm cranks. Shorter riders or those with mobility concerns often prefer 165mm or 160mm. A shorter crank means less reach and a smaller pedal circle — sometimes that's exactly what you need.
Setup Checklist
Seat height: knee bend 25-30° at bottom of pedal stroke
Handlebar height: same as seat or 1-2 inches higher
Elbow bend: 15-20° when gripping handlebars
Foot position: ball of foot over pedal axle
Saddle fit: test different saddles before committing
"I wasn't enjoying rides anymore because my back was always tight. Changed my seat height by maybe an inch and suddenly I can do 20km without pain. It's not the bike — it's the setup."
— Margaret, 68, County Waterford
Take Time to Get It Right
Here's the reality: You won't nail your setup in five minutes. You'll make adjustments, ride for a week, notice something feels off, and adjust again. That's normal. That's how it works.
What matters is that you're thinking about it. Most riders just accept discomfort as part of the deal. You don't have to. The greenway from Waterford to New Ross is 46 kilometers of beautiful scenery. You should be enjoying it, not gritting your teeth through it.
Spend an afternoon on these three adjustments — seat height, handlebar position, and pedal alignment. Then get out there. You'll be surprised at how much difference it makes.
Important Disclaimer
This article provides general information about bike setup for comfort. Everyone's body is different, and what works for one rider may not work for another. If you have existing pain, mobility concerns, or medical conditions affecting your cycling, consult with a physiotherapist or your doctor before making significant bike adjustments. Professional bike fitting services can also provide personalized guidance tailored to your specific needs and body geometry.